Once the template is ready, it needs to be uploaded to the dashboard to enable downloading the final report.
How to upload a template
-
Open a dashboard and switch to EDIT mode;
-
Go to the left menu pane → Reports → Add new report;
-
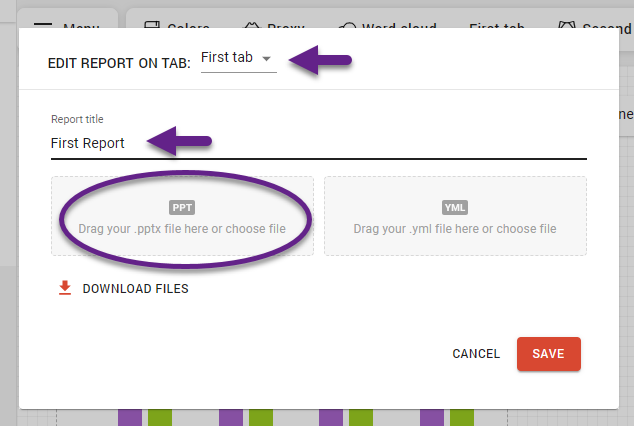
In the pop-up window, enter the report title and select the option to upload the .pptx template. Check which tab the report is placed on – only the content from that tab will appear in the generated report.
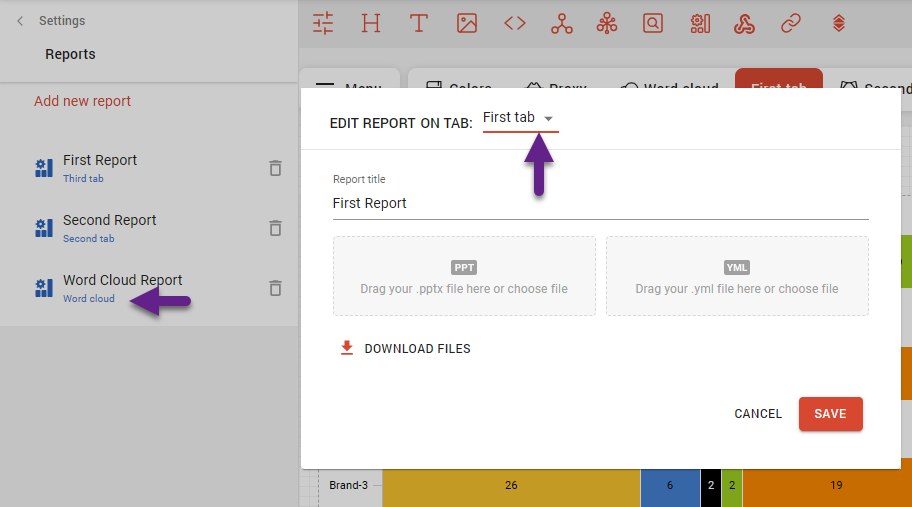
In EDIT mode, you can return to the Reports section in the dashboard’s left menu pane at any time. Here, you can rename a report or move it to a different tab.
The list of reports is always displayed in alphabetical order. To arrange reports in a custom order, add numerics to their titles, e.g., “1. UA_brand”, “2. AA_brand”.
Report-Tab connection
Each report file is linked to a specific dashboard tab. When exporting a single report, it will include only the content from the tab it refers to. If you create placeholders referencing elements from other tabs, they will not be exported, and the report will display the following warning: "No dashboard widget found for this element."
-
To check which tab the report is linked to, go to the left pane menu → Reports → the associated tab is shown under each report title.
-
To change the linked tab, click on the report title → select the tab in the pop-up window → Save.
Export via the top menu
In a standard export, the content reflects the current state of the control. To generate charts for all states sequentially, this can be automated using a YAML script.
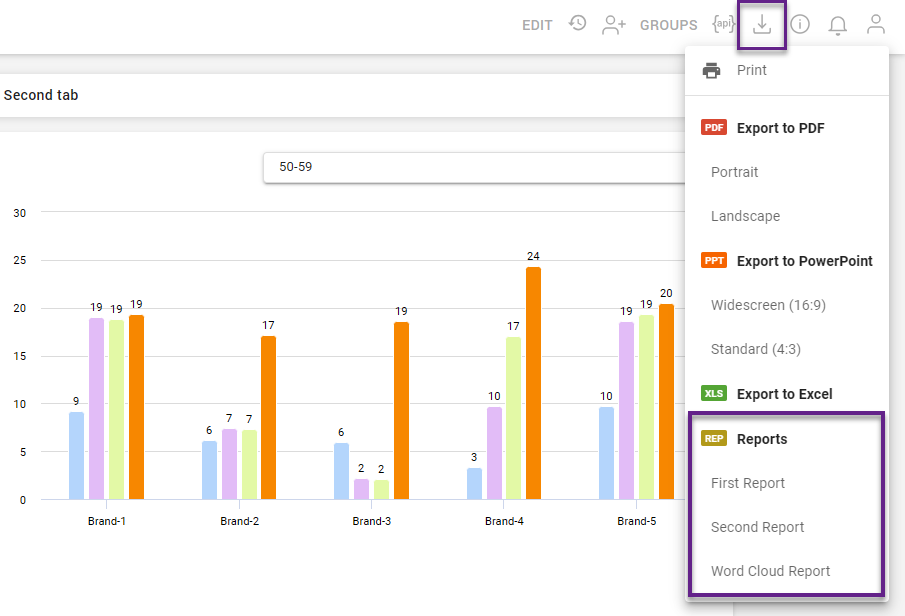
Once the template is uploaded, you can immediately download the new report filled with the current data:
-
Click the ‘download’ icon in the top toolbar.
-
In the drop-down window, find the report title in the report section.
-
Click on the report title, and the PPT file will be downloaded at once.
Here is the short video example:
Export via the report button
In VIEW mode, you can also use the report button to download your file. The button is built right into the dashboard, making it easy to generate the latest version of the report with just one click. It’s available to all users in VIEW mode.
-
In EDIT mode, click on the ‘Create a report button’ icon from the toolbar.
-
Select the report that will be downloaded (if there’s more than one).
-
Switch to VIEW mode to use the button.
-20230428-114250.gif?cb=37fb738ef2b440aad37804290abd5535)
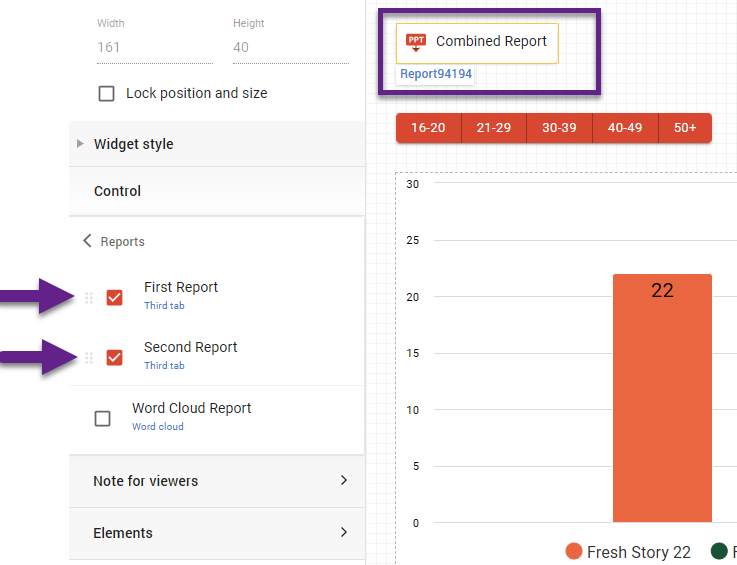
Combined reports
You can export content from multiple tabs at once only when downloading several reports in bulk. After the individual reports are ready for each tab, you may combine them. Unlike the individual reports, the combined report can be downloaded using the report button.
-
Click on the ‘Create a report button’ icon and select any of the presented reports.
-
Select the button -> ‘Look and feel’ section in the left menu panel -> Reports.
-
Tick the checkboxes to select which reports will be included in the export.
-
Similarly, you can untick the current report and select a new one for the existing button.
-
Adjust the order: reports will be exported in the order they are listed in this section, from top to bottom.